Friday, April 20, 2012

Versatile Blogger Award

Thanks to Barb from Turtles and Tails for nominating me for a Versatile Blogger award.


I really appreciate the nomination and the motivation since I haven't blogged in over a month.  I've been a lacking in motivation lately and I hate admitting it.
Thanks Barb!  Barb and I know each other outside of the Blog world, we work together.  I have really enjoyed getting to know another side of Barb through her blog.  She is creative, talented and funny!  I love her writing style.  Without a doubt my favourite posts of Barb's include her fur babies Chloe and Sasha.

I'm nominating ...

Proper Prim - I love Deb's posts about her grand daughter Mya
Apple Box Boutique - Annie Sloan Chalk Paint Stockist
Aqua Seventy 6 - Check out Yvette's Etsy shop
Cherry Street Cottage - Jessica is going to be a Mom soon, I love her Bernese Mountain Dogs!
Serendipitous Home - I am in love with Sandra's home and style

Ok 7 things about me ...
  1. I taught disco dancing at a health club when I was 18.
  2. When I was in high school I had a ski membership at Horseshoe Valley resort, every weekend I would get up at dark-thirty to catch the first bus in front of my house and take it to the local subway station where I would catch a grey hound bus and take it to the resort, just so I could ski.  I would do this both Saturday and Sunday every weekend of the winter.
  3. I had a summer job working at a Baldwin Piano store in Scarborough.  I was filling in for Lawrence Gowan who was taking time off to tour with his first band,  Rhinegold.  No, I never  met him in person. 
  4. In 1997 my girlfriend Cyndi and I were asked to join a Bar Pool League in Mississauga, the team that recruited us needed "beginners".  We were told there was a good chance we could go to Vegas for free.  Our team won the local finals 2 years in a row so we went to the Vegas tournament.  What a great time!  If I remember correctly the 2nd year in Vegas we were voted friendliest team ... kinda like Miss Congeniality.
  5. I might regret sharing this one, my dad's nick name for me when I was little was Dopey Jopey. I was a very naive little girl and a little unsure of myself (maybe it was those round pink glasses they made me wear).   I shared this nick name with my friend Cyndi after a few cocktails once and she has called me DJ ever since.
  6. I went to a special high school for Vocational Arts, it was 2 credits in grades 9 and 10 and 4 credits for 11 and 12.  I didn't continue with the program for grades 11 and 12 since I really wasn't sure if I wanted a career in the Arts. 
  7. I was very athletic and competitive when I was younger.  I was a figure skater when I was in school, I even went back to it in 97 when I joined an adult Precision Skating Team.  I also played in a lot of racquet ball tournaments in the 80's, my mother was my doubles partner.
Thanks Barb from Turtles and Tails again for nominating me.

If you were nominated for the Versatile Blogger Award, here are the rules:

  1. Thank the person that gave you the award in a blog post.
  2. Include a link to their blog.
  3. Pass the award on to 5 bloggers you follow. (it was 15 but I reduced it to 5 to take a little less time)
  4. Include 7 random things about yourself in your post.
  5. Notify your nominees by leaving a comment on their blog.

Sunday, February 26, 2012

Coca-Cola End Table

I threw this together with a few things we had around the house

Isn't she cute?

This project started when I was deciding where to store the metal tub that I'd purchased to put our Christmas Tree in.

I had this piece of glass on an old wobbly table that I put outside on the deck.  The base is garbage but I just couldn't bring myself to throw both the base and glass out.


I cleaned the glass and checked it on the top of the of the tub to see the fit and make sure it wasn't  going to wobble ... I hate glass that wobbles!

Here's the tub prior to adding the logo.

I found a Coco-Cola Logo online and imported into my Silhouette Design software.
Then I cut a stencil with my Silhouette Cameo (I love my Silhouette!).

I just used some white acrylic craft paint to paint out the logo.

The table needed to be higher, we were going to add legs but in my haste to get something finished I started hunting around the house and found an aged metal tray with legs that I could never find a good use for.  I added a cut up 2 x 4 on top of the tray to lift the tub just a hint more.  Done!

Posting to


Home Stories A to Z


Friday, February 24, 2012

Picture Perfect Room ... The final reveal of our entrance

Yay!  It's done.  Actually it's been done for a couple of weeks but I put up blogging about it so I could reveal over at Funky Junk Interiors SNS 122.

So, here's where we started ...

 Isn't it pretty?  I knew the open hanging rack had to go from the day we moved in.

This is what it looked like once inside the house looking back at the entrance porch.


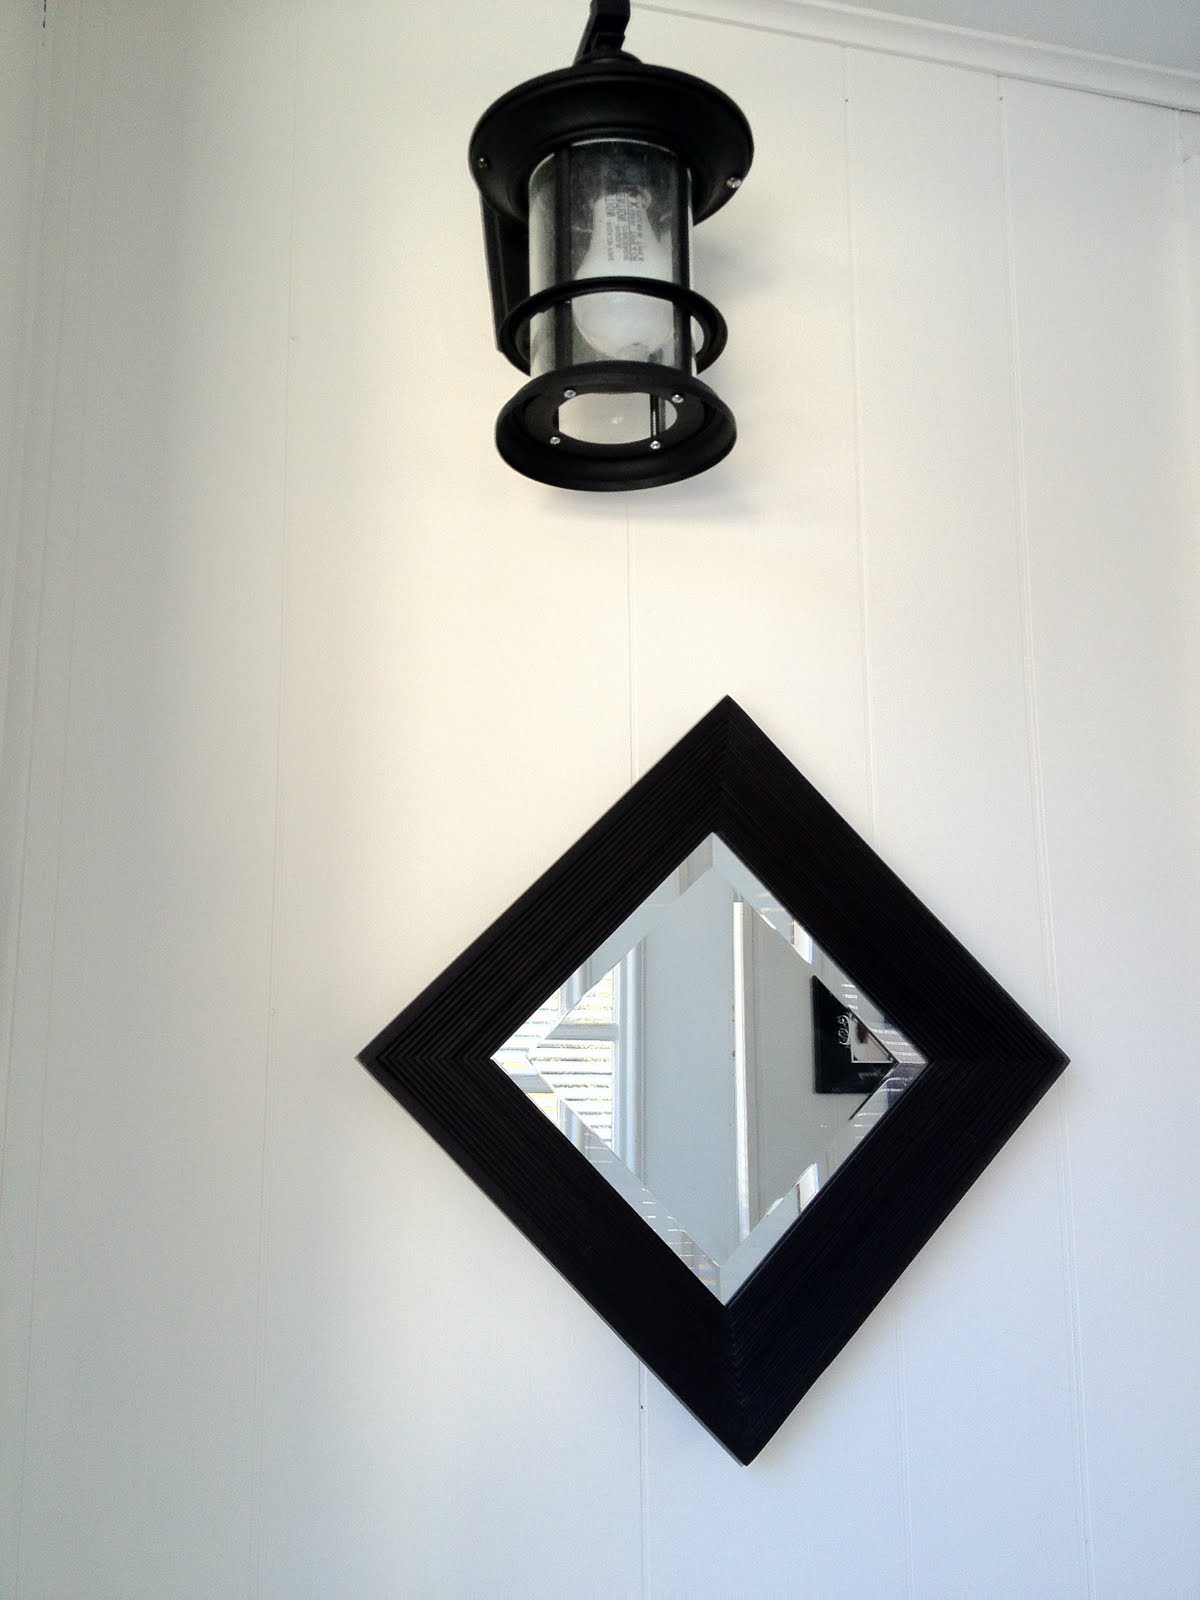
Original Light.

Ahhhh!  Now this is an entrance I'm proud to come home to.

This image is a little warm, it was taken with the new light on and a little later in the day.
The new blinds and home made valances are so much better then the sheers.


And this is the new light.

I posted previously on the creation of the entrance bench here.
I also posted here about the window coverings and the Beach sign here.


I'm linking to


Saturday, February 11, 2012

Faux Brick ... our journey to the perfect finish

Phew!  What a relief, it feels so great that this project is now complete.

We started this project December 2010, I blogged about the FIRST reveal here.

In March last year I blogged that I was not happy with the original finish, that post is here.

I won't keep you in suspense, here is the final reveal ...


Now, back to November 2010 ...

First we primed the wall with white primer.  After the primer was applied I came across some faux brick wallpaper, we considered just putting up one of these and calling it a day.

 We were back and forth about the wallpaper for a week.  Rather than discussing anymore Frank got to work creating the brick.  He applied drywall compound to the wall and the bulk heads.  As he applied the compound he let it set for a bit then he would carve the brick shape out.  He used a large flat head screwdriver to carve the mortar lines.  We did not want perfect bricks, we wanted it to look old. If you want a more uniform look you can paint your wall the colour that you would like your mortar lines then tape out the brick pattern, then start to apply the compound.  Make sure you remove the tape before the compound dries!
Above is the wall with the drywall mud applied to it.

This is a closer look.

This is the 1st reveal of the wall all painted.
Something wasn't right, I kept playing with the paint but just couldn't get it to where I wanted.

I searched the internet and found this image, this is the beachy brick finish I wanted.


Frank to the rescue again, he painted the whole wall white, then sponged a mixture 
of greys with hints of warm brown paint to the brick.  Sooo much better!
The only thing needed now is some added shape and shadowing.  
The mantle shelf is painted with ASCP Old White here, after this picture was taken I sanded the shelf to distress it then applied clear and dark wax to give it an aged look.


Here is the completed wall!  Yay!  

Update to this post, the cost to complete the final look of this wall was less then $50.  1 pail of drywall compound $12, we already had a gallon of Behr Swiss Coffee paint with primer which was used to seal the compound and as our base colour for the finished wall, the brick colour and shadows were done using small bottles of acrylic craft paint from Michaels.  

We had done this on a smaller scale in the past, we did a back splash in a previous home.  When done as a back splash make sure you protect it with a sealant if water will be splashed on it (can't remember what we used)


I'm linking to -


Sunday, February 5, 2012

Coffee Table/Bench Makeover is finally complete!

The end of last year we picked up this coffee table for $16 at our local thrift store.  It's really sturdy, I had a vision of it becoming the perfect entrance bench.   It's so darn pretty I was torn when it came to painting it (not!)


After sanding the top,  the top was painted with Annie Sloan Chalk Paint, Louis Blue then I added this phrase that was cut using my Silhouette Cameo.  The navy blue is vinyl that is being used as a mask that will be peeled off after the next layer of paint...
We also removed the doors.  Relax ... it's going to look great!
Here is it after being completely painted in Annie Sloan Chalk Paint Graphite, then I peeled off the vinyl so the Louis Blue could show through.

Then I distressed the whole table/bench, and waxed it with Annie Sloan Clear wax,  I also used a small amount of dark wax over the exposed wood areas to give them a richer look.


Here she is in her final glory!  As you can see it was made for this area, there isn't an inch to spare.
I added the baskets which we are using for Buddy's leash, our gloves, mitts and other items that used to end up on the shelf above.


I'm linking  to -

Jennifer Rizzo: Thrift Store Makeover


Saturday, January 28, 2012

Picture Perfect Room, progress report #2

Nope, not done yet but she's coming along!  Wanna see a before shot?  Are you sure, it's scary.

Isn't it welcoming?  I have been following so many amazing blogs,  many that have these gorgeous entrances that are white and bright.  I yearn for that fresh, white, beachy entrance way!

Here's the stage we are at now ...


It's taking a little longer, there is tons of caulking to be done and another coat of paint.  The entrance bench that I have been working on needs a little more distressing and a coat of wax.  We have hooks to go up under the shelf and also there are blinds that need to be installed.

Previously the windows looked like this ...


I had "shopped the house" and reused these white sheer panels to cover the windows, you know, to get that breezy tropical look.  Can't you just feel the warm tropical breezes ummm, cold wind now?
I picked up some very cheap reasonably priced blinds on Friday, they are just white vinyl slats that I will eventually replace with white wood blinds.  I don't like the look of the tops of most cheap lower priced blinds so I made valances with fabric I picked up a while ago.  Geez, talk about being resourceful since I don't have a sewing machine.  I used fabric glue ... I was high on fumes yesterday!

I ironed the edges
Then glued and stuck down, I do love how fast this works, so much faster then fabric tape.
I added dimes to the bottom corners to add a little weight.

Then I attached the rings to the tops.  The final reveal will have to wait til completion of the room.
I also made one pillow cover in the same fabric and using fabric glue, I have one more to make.

Here is the beginning of a painted sign, this is a cabinet door from Habitat which I am painting 
with ASCP Louis Blue.

It will be going up on the shelf and the arrow is actually facing in the direction
of the nearest beach.
So here are the components that have been worked on, stay tuned for final room reveal.

I will be linking to