Showing posts with label Funky Junk SNS. Show all posts

Friday, February 24, 2012

Picture Perfect Room ... The final reveal of our entrance

Yay!  It's done.  Actually it's been done for a couple of weeks but I put up blogging about it so I could reveal over at Funky Junk Interiors SNS 122.

So, here's where we started ...

 Isn't it pretty?  I knew the open hanging rack had to go from the day we moved in.

This is what it looked like once inside the house looking back at the entrance porch.


Original Light.

Ahhhh!  Now this is an entrance I'm proud to come home to.

This image is a little warm, it was taken with the new light on and a little later in the day.
The new blinds and home made valances are so much better then the sheers.


And this is the new light.
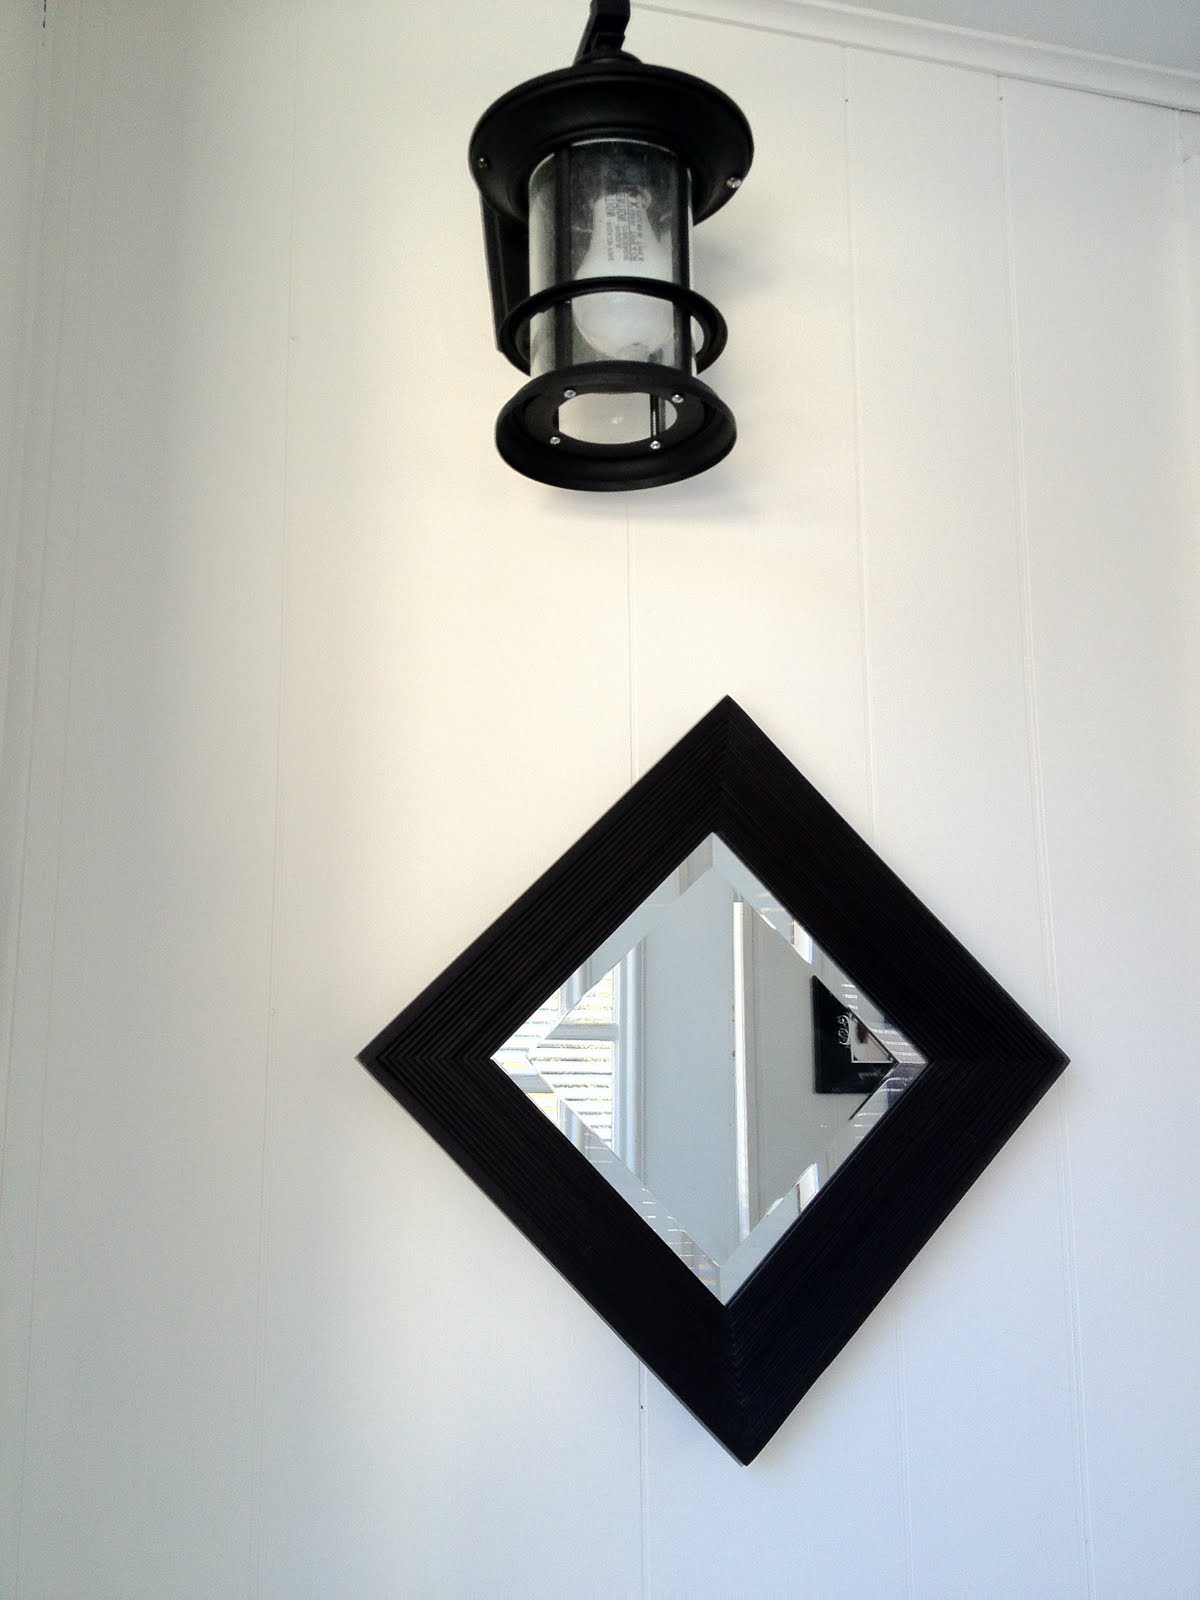
I posted previously on the creation of the entrance bench here.
I also posted here about the window coverings and the Beach sign here.


I'm linking to


Saturday, January 28, 2012

Picture Perfect Room, progress report #2

Nope, not done yet but she's coming along!  Wanna see a before shot?  Are you sure, it's scary.

Isn't it welcoming?  I have been following so many amazing blogs,  many that have these gorgeous entrances that are white and bright.  I yearn for that fresh, white, beachy entrance way!

Here's the stage we are at now ...


It's taking a little longer, there is tons of caulking to be done and another coat of paint.  The entrance bench that I have been working on needs a little more distressing and a coat of wax.  We have hooks to go up under the shelf and also there are blinds that need to be installed.

Previously the windows looked like this ...


I had "shopped the house" and reused these white sheer panels to cover the windows, you know, to get that breezy tropical look.  Can't you just feel the warm tropical breezes ummm, cold wind now?
I picked up some very cheap reasonably priced blinds on Friday, they are just white vinyl slats that I will eventually replace with white wood blinds.  I don't like the look of the tops of most cheap lower priced blinds so I made valances with fabric I picked up a while ago.  Geez, talk about being resourceful since I don't have a sewing machine.  I used fabric glue ... I was high on fumes yesterday!

I ironed the edges
Then glued and stuck down, I do love how fast this works, so much faster then fabric tape.
I added dimes to the bottom corners to add a little weight.

Then I attached the rings to the tops.  The final reveal will have to wait til completion of the room.
I also made one pillow cover in the same fabric and using fabric glue, I have one more to make.

Here is the beginning of a painted sign, this is a cabinet door from Habitat which I am painting 
with ASCP Louis Blue.

It will be going up on the shelf and the arrow is actually facing in the direction
of the nearest beach.
So here are the components that have been worked on, stay tuned for final room reveal.

I will be linking to


Monday, January 3, 2011

Floor Lamp Makeover

This project was originally posted January 2011 but I wanted to Spruce it up and link it to Funky Junk Interiors  Sat Nite Special link party #126 - unique lighting.

When I purchased this floor lamp I LOVED it!  Ya, not so much now.  Here she is ...


I wanted a lantern to fit over the existing light that was hanging, it was not easy to find but as they say when you least expect it ...


I found this red lantern at a local hardware store prior to Christmas.  It was exactly what I was looking for but the wrong colour!  So , I removed the glass, and got to work.

 We went out to the workshop, and I set up my high tech spray booth so I could paint it Oil Rubbed Bronze.  In Blog World there is White Paint, Chalk Paint and Oil Rubbed Bronze ... that's it!
Once painted, I covered the front and back glass panels with frosted contact paper.  For the side panels Frank came up with the idea to make it look like a lantern from an old train so I got the Cricut out and cut out AT & SF  1536  out of the contact paper "Atchison, Topeka & Santa Fe ... Caboose #1536"
(side note, I no longer have a Cricut I have a Silhouette Cameo and it would have ACED this project!) 
Frank also found an old ticket from the same railway, that is what is tied to the top, here is a close up
Cool isn't it?

Here's the after 

Yes this image says Starwood Country Creations, did I tell you that I changed my blog name Ump-teen times!  It's 12am right now, I'm tired, I've been haggling with a kid on Kijiji who wants to buy Frank's golf clubs but would like us to drive 2 hours to bring them to him, oh and do you take a cheque (don't piss me off kid  I'm menopausal and the hormones are looking for someone to take it out on) Ok, where were we?  Right - my blog name changes.   One image missed the name change and I ain't changin it right now cus I am one sleepy grump.
Anyho, here it is in it's new resting spot (prior to my cool Coke End Table)

Nite Nite, sleep tight (why tight, what does that mean?  I throw the covers off ... oh geez Hot Flash taking over)

I'm linking to ...


Saturday, November 6, 2010

My attempt using the natural elements ...

 WARNING:  I am sharing my failure with the hopes that some of you will share how you overcome the challenge I faced.

I am inspired by the many postings at Funky Junk Interiors SNS#55.  I have not done much decorating with natural elements - twigs, pine cones etc..  Well,  I have used Pine Cones when I was a condo owner but I purchased them from a Christmas Store, they were cinnamon scented so they were a nice Christmas addition.

Let me show you my inspiration for this week ...

I found this image and inspiration at Libby Langdon's site 

I love the natural feel, and I thought it would be a great seasonal transition piece, I was considering adding sea salt (for snow) as we moved closer to Christmas.  So Wednesday night I rushed home to start my project, I had to put this together Wednesday night because I was going to stay at friend's for a week

Diversion ... I am typing this from their sofa now while one of their dogs tries to get my attention scratching on the patio door, there he's back in now, now dog #2 is scratching, Dog #2 is in and she is staring me down and wants my spot on the sofa, Alrighty now we're settled, me and 2 Golden Retrievers on a sofa and my toes are being licked, I can't concentrate, should I go get some socks?

Where was I?  Pine Cones and Twigs!  I rushed home Wednesday night and ran out to the yard to clip some twigs off of trees and collect pine cones.  I decided I wanted my arrangement to look a little more rustic so instead of ribbon I used twine.  So, here we go I assembled the materials
The Vase,  challenge number 1, the vase base is narrow and my pine cones are huge!  But hey, I'm shopping the house for this arrangement.  Ok, no avoiding this here is as far as I got with this arrangement ...

I got to this point and I was straightening the twine and a couple of little spiders started to surface, then a little worm eeeccckkkk!  I quickly picked it up and ran outside with it and gave up!  Can you see the bundle of candles on the left side of this image, I was going to use them since I wanted white candles, Frank pointed out that they looked like a bundle of dynamite, at this point I wish it was dynamite cus I would blow this DIY up!  Why am I posting this?  I'm new to "crafting off the land" please share with me ... is there something I should be spraying these items with before I use them so I will not encounter invaders?

I can't leave you without sharing my Guest Bloggers for the evening ...

Chance and Ruby


I'm linking to Funky Junk Interiors SNS (for advice)


Funky Junk's Sat Nite Special