Showing posts with label hand painted sign. Show all posts

Thursday, October 4, 2012

Quick 2 sided sign for mantle shelf


I had a scrap piece of wood that would be perfect for a small sign.  I measured it, then gave it a base coat of van Gogh Chalk paint in Buttah.


While the Buttah (I love that name!) was drying, I went into my Silhouette Studio and started designing what I wanted to put on this piece.  I have so many signs with words and sayings and honestly I could have them all over the house but I wanted a graphic option on this one.  I decided on a couple of birds sitting on a tree branch.  

Once the Buttah dried, I put the painted wood piece on the shelf and felt the yellow might be a little too bright for what I wanted so I put a coat of Muse over it.  Muse would pick up the warmer tones in the faux brick on this wall.  Meanwhile the conversation in my head was bouncing back and forth between a graphic image and a saying (I have SO many sayings I want to paint).  Then a light bulb went on!  Yep, I still have it!  Why not paint something on each side and I can turn it around a show the side I feel like seeing on any given day.  Cool huh?


So, I cut out the saying Believe in yourself and the Birds on a branch image, weeded them, applied the transfer tape and applied the first one to the painted wood.  Once on the wood I stenciled them with the Starry Night.


Then I let the paint dry slightly before peeling back the vinyl stencil

 Once completely dry I applied the van Gogh clear wax ... OMG this wax is heaven!  It smells like honey and had me craving toast with Buttah and Honey! 

I waited til the next morning and applied some dark wax, rubbed it in and called it a day!

Here are the finished signs up on the shelf


I haven't been to any party link ups in a while so I think it's about time, don't you.
I'll update my list as I link!

Hugs,

JoJo

Saturday, January 28, 2012

Picture Perfect Room, progress report #2

Nope, not done yet but she's coming along!  Wanna see a before shot?  Are you sure, it's scary.

Isn't it welcoming?  I have been following so many amazing blogs,  many that have these gorgeous entrances that are white and bright.  I yearn for that fresh, white, beachy entrance way!

Here's the stage we are at now ...


It's taking a little longer, there is tons of caulking to be done and another coat of paint.  The entrance bench that I have been working on needs a little more distressing and a coat of wax.  We have hooks to go up under the shelf and also there are blinds that need to be installed.

Previously the windows looked like this ...


I had "shopped the house" and reused these white sheer panels to cover the windows, you know, to get that breezy tropical look.  Can't you just feel the warm tropical breezes ummm, cold wind now?
I picked up some very cheap reasonably priced blinds on Friday, they are just white vinyl slats that I will eventually replace with white wood blinds.  I don't like the look of the tops of most cheap lower priced blinds so I made valances with fabric I picked up a while ago.  Geez, talk about being resourceful since I don't have a sewing machine.  I used fabric glue ... I was high on fumes yesterday!

I ironed the edges
Then glued and stuck down, I do love how fast this works, so much faster then fabric tape.
I added dimes to the bottom corners to add a little weight.

Then I attached the rings to the tops.  The final reveal will have to wait til completion of the room.
I also made one pillow cover in the same fabric and using fabric glue, I have one more to make.

Here is the beginning of a painted sign, this is a cabinet door from Habitat which I am painting 
with ASCP Louis Blue.

It will be going up on the shelf and the arrow is actually facing in the direction
of the nearest beach.
So here are the components that have been worked on, stay tuned for final room reveal.

I will be linking to


Saturday, December 31, 2011

It's New Years Eve and time to reflect on the Christmas Season

I'll start with our tree - It took a little tweaking this year but I loved the final result of the tree.  We made the change to a smaller tree last year and since we were changing we went White!  The biggest addition this year was the Galvanized tub that we set the tree in.  I was inspired by Donna @ Funky Junk last year and spent the year looking for one.  I was so happy when one showed up at the local Antique Store right before Christmas.  I didn't get a good picture of the finished tree at night but I have a "work in process shot"

We place the tree on an end table between our sofa's in the living room.  I put Burlap tree wrap on the end table then inside the bin I place white twinkle lights over silver fabric then top them with white gauze to give the illusion of bright white snow at the base of the tree.

The original star was too heavy for the tree and it kept drooping forward.  I tried everything to enforce it, I doubled up the top branch, put a rod up into it but it still kept leaning forward to I replaced it with a large silver bow, and also added some more ornaments, I think the little white and blue bows just finished the tree off.

I didn't do any baking this Christmas Season since I am on a journey to improve my health and sugar is not my friend.  I will admit to breaking down and having a couple of sweets over the holidays and I swear when I eat sugar I am more susceptible to picking up germs or bugs from those around me.  I know, it may sound kooky but it's my story and I'm sticking to it <grin>.

In lieu of baking I made a Christmas Present for my Sister Kim and her husband David.  It's a family sign with their anniversary date on it.  The base colour is Annie Sloan Chalk Paint Aubusson Blue, I love ASCP but I was not happy with the way this darker blue sanded, it left streaks.

The wax finish took away some of the streaky blue but not all, it just adds to the character of the sign ... ya ya that's right.  Notice the little dog paw lower right side, I added that for all Kim and Dave's fur babies, those that are still with us and those that are in doggy heaven.  When I go I hope I go to Doggy Heaven, I think it would be a very nice place.

Speaking of Fur Babies, our holidays were blessed with many.  First there was the frisbee obsessed Aneeka at the Car dealership ... she is stylin quite the wardrobe!

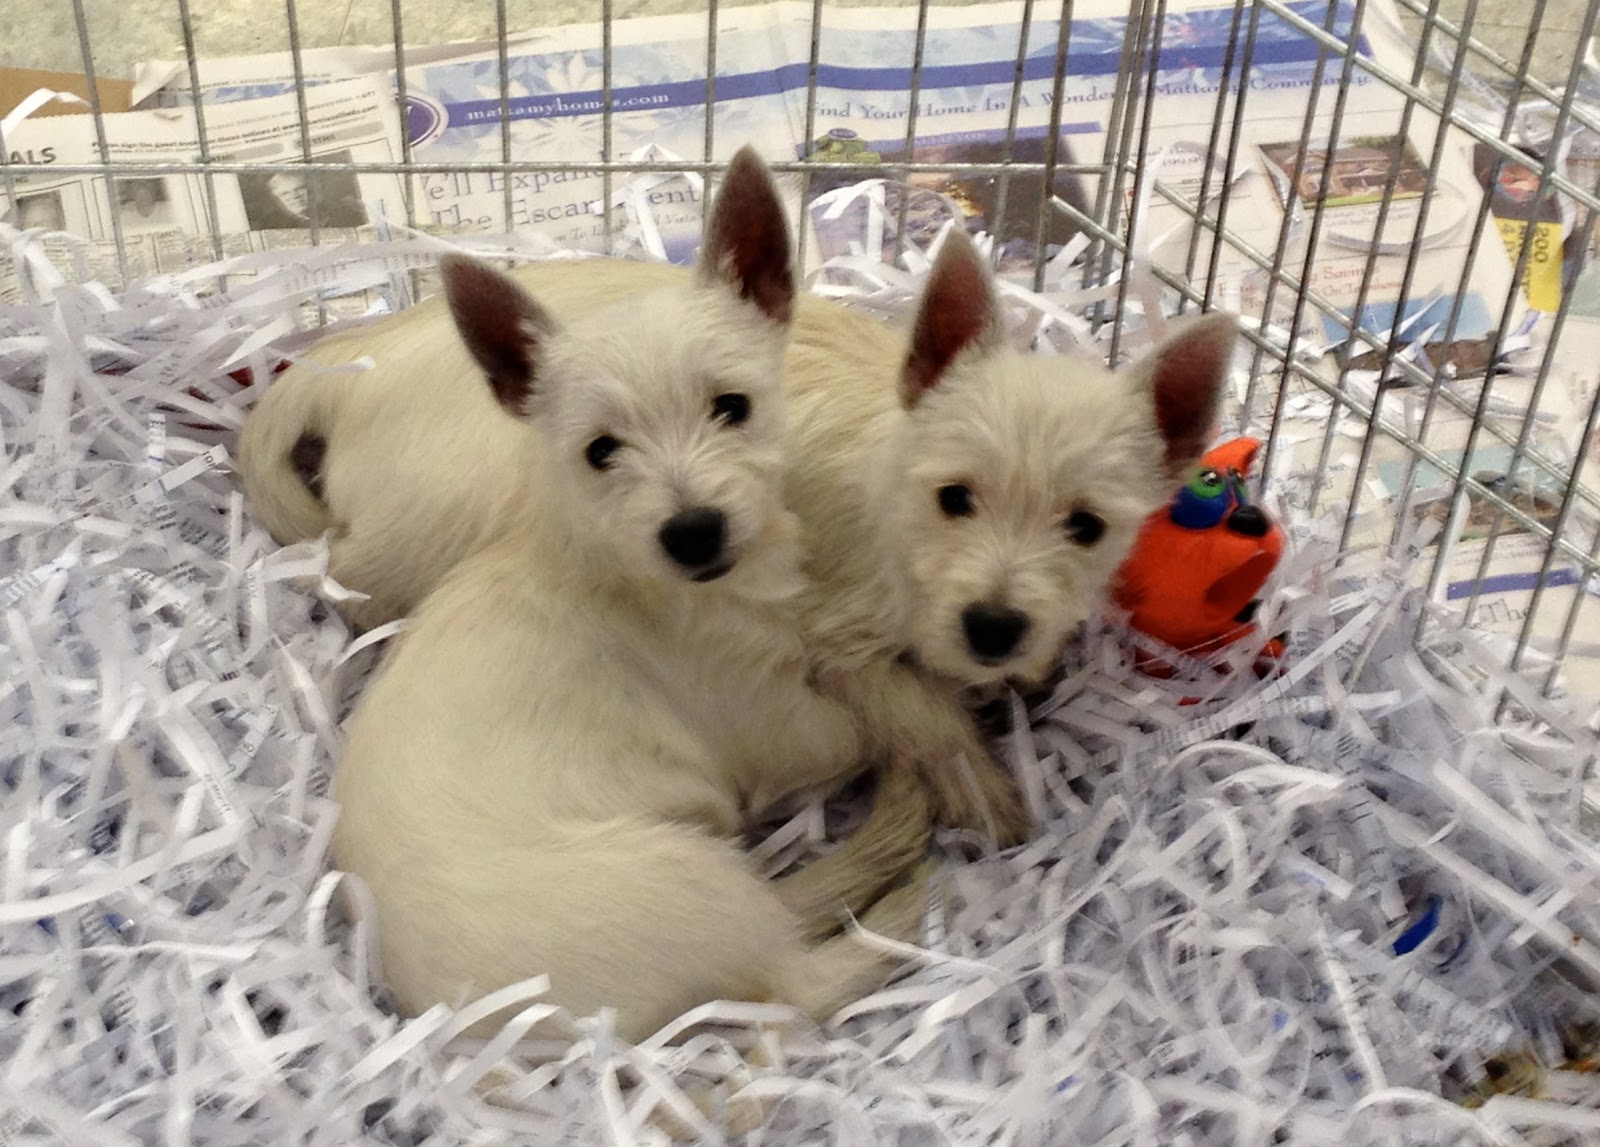
Then in the same day we visited the Pet store ...

Where we saw these cute Westie Pups, you would have to take both of them home!
There were also these Dutch Shepherd Pups that slept the whole time I was there.  Dutch Shepherd is the breed of Clark Griswold Dog from the Ultimate Dog Tease You tube Fame. (I love him)

I look forward to Christmas Day every year when we get to see my nephews Jake and Jed!  This is a great photo with Frankie and my nephews (Jake is the handsome one posing against Frank).  Of course I look forward to seeing family too.


Then on Boxing Day I came to spend two weeks with my fur friends Chance and Ruby, this photo is of Chance before the snow arrived.
Ruby seems to be sleeping in all the photos I have of her so far.

 I can't have doggies in the blog and not add our precious Buddy, in this photo he is looking at Frank with love in his eyes as Frank prepares a special dinner for him (Ground Beef was most likely involved)


But (drum roll) .... the biggest event of the holiday season was the gift we purchased for us and will allow us to do more DIY projects and I'll be able to Blog so much more next year (drum still rolling)  I said Buh Bye to my beloved little Punch Buggy, aka Zippy ...

She's looking a little dirty and frosty here ... I think she was giving me the Cold Shoulder!

We said HELLO to this sexy diva!  She is such a comfortable car to drive and so solid! She's a Volvo XC70 with all wheel drive so we can blast through the snow on our way to all the Kijiji deals out there & with all the space we can pick up a few deals!  I love her.

We have had such a blessed Holiday and look forward to 2012.

I'm linking to  ....